Basic Litter Box Enclosure
If you are like me and have cats, you know the fun past-time of walking on litter everywhere in the house. We live in a small apartment so it was litter-ally (it's funny, don't lie) everywhere. For one of the litter boxes, we originally purchased litter mats which worked a little bit, but could not cover enough of the floor to keep in the litter. We then splurged and bought a nice(ish) cabinet that held one of our litter boxes. This works pretty nicely but was about $100. It also was pretty big (which is nice but we have a small apartment). I ventured to then take some items I had around the house and build a second enclosure to hold our second box. This design requires items that typically are found around the house. I had the packaging supplies from online orders (A large box comes when I order litter online) and the tape was something I just had lying around the house. If you do not have these items laying around, all of the supplies can be purchased at a shipping or hardware store for under $5. Good luck! And feel free to contact me with any improvements, issues, or questions!
Tools
- Box Cutter
- Scissors
Materials
| Material | Qty. | Unit Cost |
|---|---|---|
| Tape (2" wide) | 2 | $3.5 |
| Large Cardboard Box | 1 | $1.5 |
| Total = | $8.5 |
Instructions
-
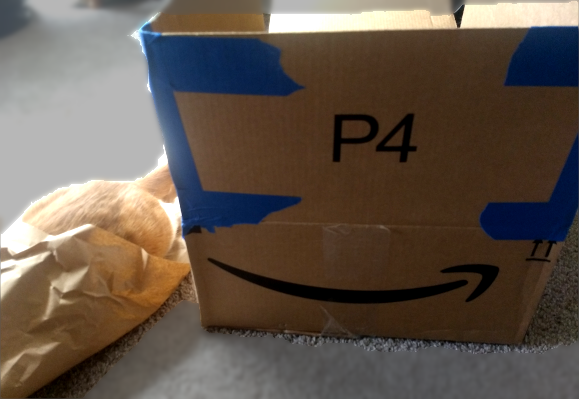
Find a Cardboard Box

Before we start making the enclosure, we need to find a cardboard box that can hold. I typically buy 25lb bags of litter off of amazon which come in boxes that are about 1.5x2.5 feet and about 6-8 inches tall. We have massive litter pan for our cats that perfectly fit into these boxes. Any box that fits the litter pan will do though, but I would definitely recommend trying to put the litter pan in the box before you start making the enclosure. The height isn't a huge issue because the top part of the box will add the height we need.
-
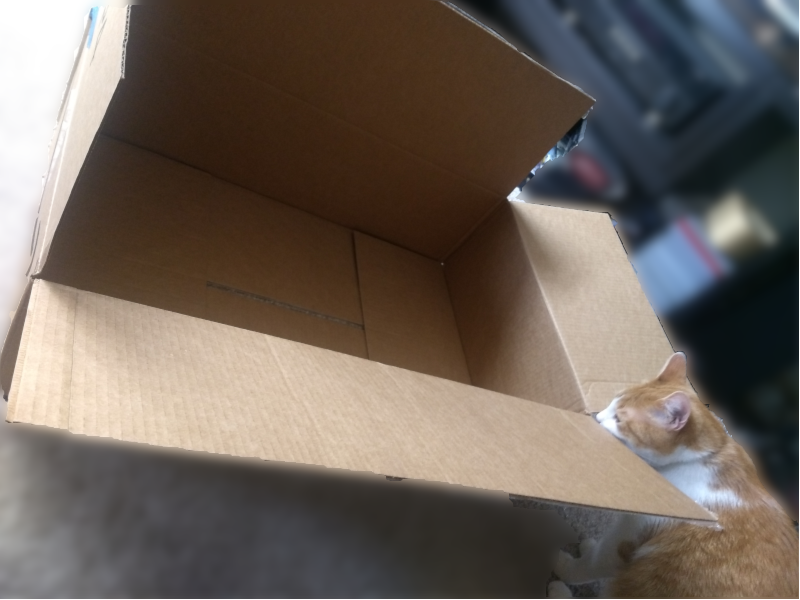
Tape up the Top Flaps

Once we have a box that fits, we now want to tape up the top edges. This will give the box the height that we need to keep the litter contained.
-
Lift two adjacent flaps from the top of the box and tape them together at the corner. One piece of tape going along the seam and another across the seam keeps in the litter and create a more robust enclosure.
-
Repeat for each of the 4 corners of the box.
-
-
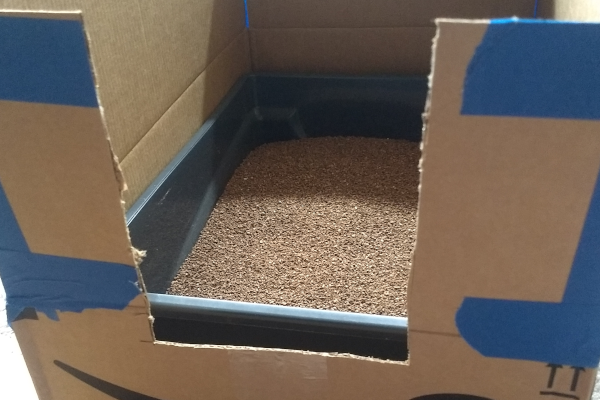
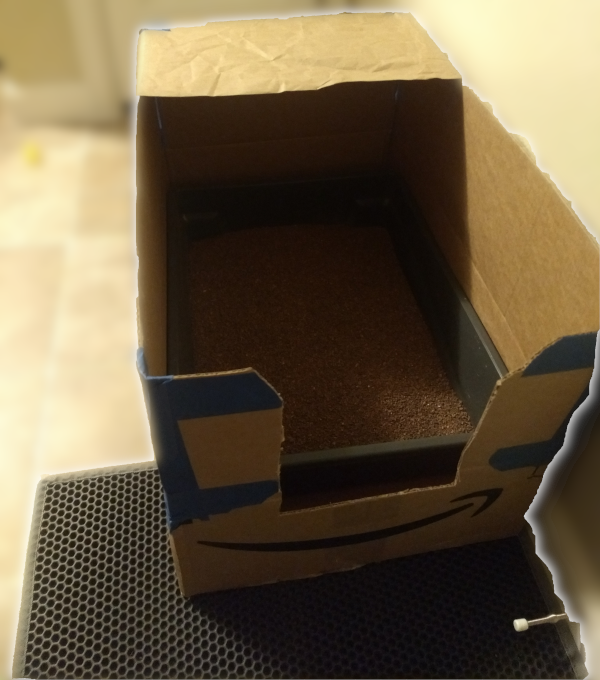
Cut Out the Door

Once the top flaps have been secured together, we now have a very tall and large box. We need to now cut a nice doorway for our little kitties to be able to get in and out! For these steps we will use a box-cutter
-
Place your litter pan into the cardboard box.
-
Using the box cutter, cut a 'U' shape out of the front of the box large enough for your cat (or other animal) to make it in and out and slightly above the top of the litter pan.
-
Round the upper edges for a smoother look.
-
-
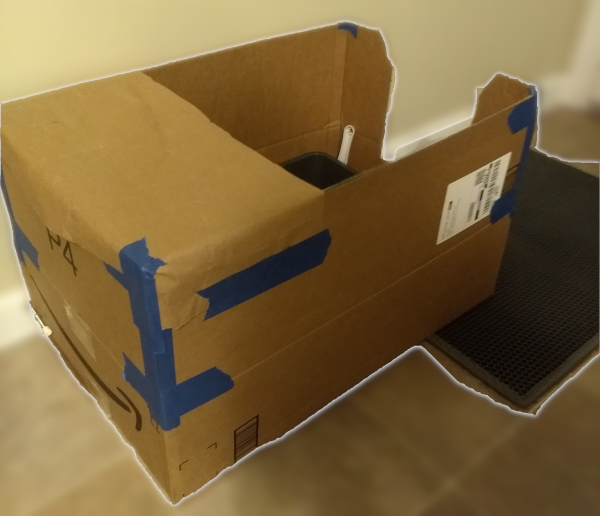
Add a Roof (Optional)

This is a design I have made multiple times and with previous designs I simply stopped at the previous step and called it a day. I found that one of our cats would jump out the back, spilling litter all over the floor on his way. Even adding a partial roof has deterred our kitties from jumping out and convinced them to use the front entrance (which has a litter mat by it). A roof could be made our of more cardboard, but we also had some extra packing paper laying around that was quick and easy to use.
-
Cut out a piece of packing paper 4-6 inches larger than the width of the box
-
Center the paper across the width and slightly overlap the back of the box with the paper
-
Tape the paper to the cardboard box along the sides and back edges to hold it in place
-
-
Add the Litter Pan and Mat

Now that the box has been turned into an enclosure it is time to add the litter pan (if it is not already in there)! The partially open top of the enclosure is great as it lets you easily scoop the litter without having to take anything off of the enclosure. I'd also recomment placing a litter catching mat outside the entrance to try and contain most of the litter that makes its way out.
-
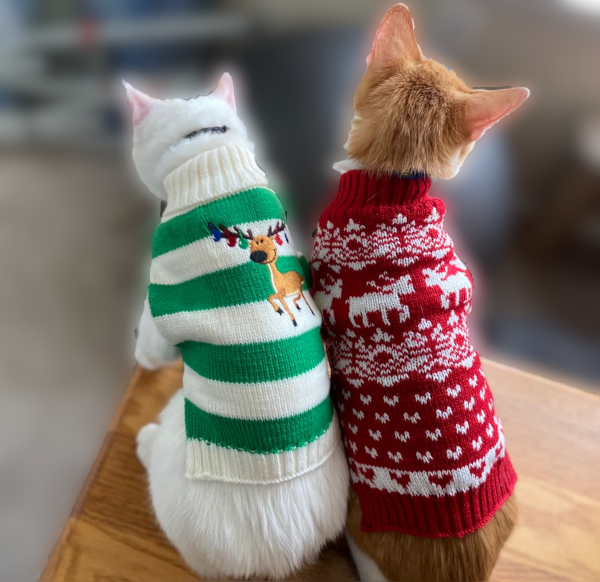
Get Artsy with It

Ok... So truth be told, I am not super artistic. I just left my enclosure looking like an taped up cardboard box, but like most people they think this looks like trash and don't want that in their house. The cardboard and paper can always paint, color, cover in fabric, or even bedazzle your new litter box enclosure to make it fit in better with the home decor. Because mine is very boring, I have provided a picture of my cats in sweaters when they were still kittens.
And That's It!
You did it! You now will have a lot less litter spread around without having to spend lots of money on a purpose built enclosure (which can get expensive...). I even tend to build a new one of these every few times I order litter (and get a new box) to keep everything extra clean.